IoT On-Site Installation
In this blog, we will take you through the installation process of our IoT Wireless Temperature Monitoring Solution.
Expect to learn the following in this blog:
- Installation process
- Different scenarios & applications
- Photos to provide an idea of how the installation proceeds
Installation process
Prior to installation, our team requires some information including:
- Site layout of the designated location where the hardware will be installed
- Availability of WiFi access for the system
- Quantity of sensors based on customer requirements
Gathering these details is important to ensure that we meet the customer’s requirements and provide them with a suitable temperature monitoring solution to protect their assets.
If needed, our service team will conduct a site survey for further clarification as signal behavior varies in different environment.
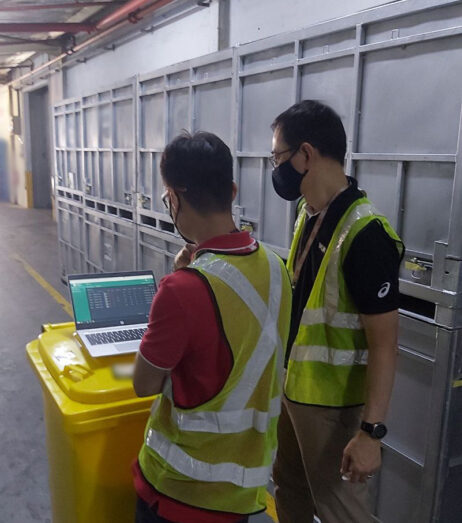
During the installation process, our team will first set up the gateway by plugging it to a nearby 3-pin power socket near the unit itself to power it on. We will then connect the gateway to the internet, either via WiFi, an internet cable, or a 4G SIM card, depending on the customers’ site requirements. Once the gateway is successfully connected to the internet, the sensors will begin transmitting the locally stored temperature data (while the gateway was offline) to the gateway itself.
Different scenarios & applications
Cold Room, Walk-in Freezer Temperature Monitoring
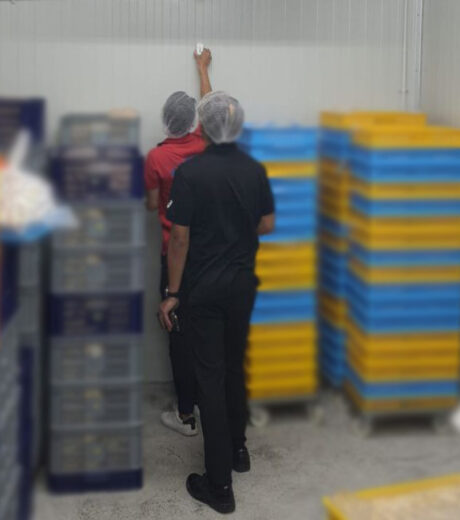
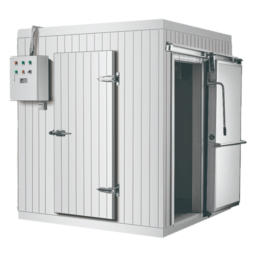
To ensure a strong signal between the sensor and gateway, our team will move the sensor within the cold room/walk-in freezer to find a location with strong signal and ensure that the sensor is actively reporting temperature data to the gateway. We do this by monitoring the data through our web application. This reduces the likelihood of future disconnections between the sensor and gateway. Once a suitable location is found, we will secure the sensor in place.
Freezer, Refrigerator, Standing Chiller, Chest Freezer, ULT Freezer, Cryogenic Freezer, Incubator Temperature Monitoring
In contrast to the cold room/walk-in freezer scenario, our team takes a different approach to the hardware installation for these particular scenarios. The rationale behind this is that the type of sensors used is dependent on the temperature range of the unit itself. Certain units, such as the ULT freezer and cryogenic freezer, require the use of an external sensor probe that is connected to the sensor. More information can be found in the following paragraphs.
For freezers, refrigerators, standing chillers and chest freezers, our team will place the sensor (with an internal sensor) into the units. In cases where the signal between the sensor and gateway is weak, we will relocate the gateway closer to the unit to strengthen the connection. Once the signal is strong and the sensor successfully transmits data to the gateway, we will place the sensor inside the unit. We will also monitor the temperature data sent by the sensor using our web application.
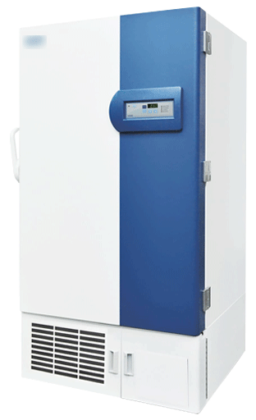
For the incubator, ULT freezer and cryogenic freezer, our team will place the sensor itself to the exterior of the unit. We will then insert an external sensor probe connected to the sensor, into the unit. This is necessary as the temperature range of the unit falls outside the temperature range that the sensor can handle. With the external sensor probe, the sensor can capture temperature data from inside the unit and transmit it to the web application, which we will use to monitor the temperature.
Server Room Temperature Monitoring
For server room temperature monitoring, our team will place the sensor on a server rack. The gateway will either be placed in the server room or in close proximity to it, depending on the availability of a power socket. We will monitor the signal strength and ensure that data is being transmitted from the sensor to the gateway using our web application. Once these requirements are fulfilled, we will secure the sensor to the server rack.
Cold Truck Temperature Monitoring
Customers have the option to choose between offline or real-time temperature monitoring for their cold trucks.
For customers who do not require real-time temperature monitoring, the sensor will be placed in the refrigerator box while the gateway is placed at the warehouse where the cold truck makes a stop. The sensor will be compiling temperature data and storing it locally (data logging) since there is no gateway for it to transmit its data to. When the cold truck stops at the warehouse, the locally stored temperature data from the sensor is uploaded to the gateway and subsequently transmitted to the cloud. This allows us to access and monitor the temperature of the refrigerator box during its journey, through the web application.
For real-time truck temperature monitoring, we will place the sensor (which differs from the sensors used in the above scenarios) in the refrigerator box, while the gateway (OBD2) will be placed in the fuse box. The gateway itself does not require a battery as it draws power from the cold truck’s battery. The sensor will transmit temperature data to the gateway and then to the cloud while the truck is driving to its destination. We will be able to monitor the real-time temperature of the refrigerator box through our web application.
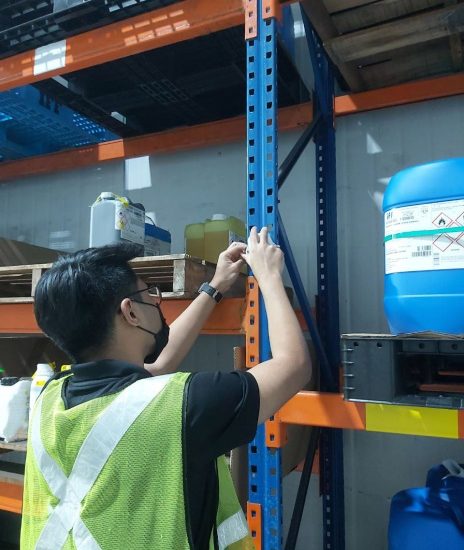
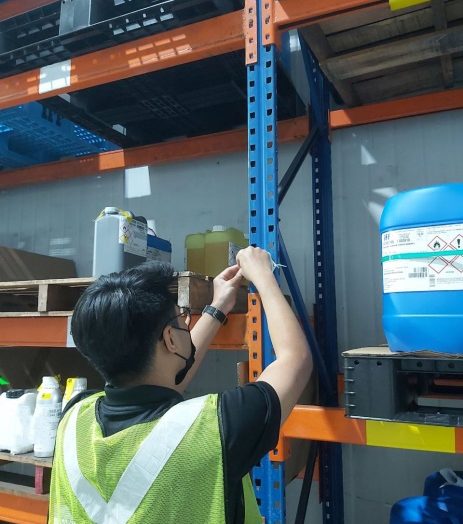
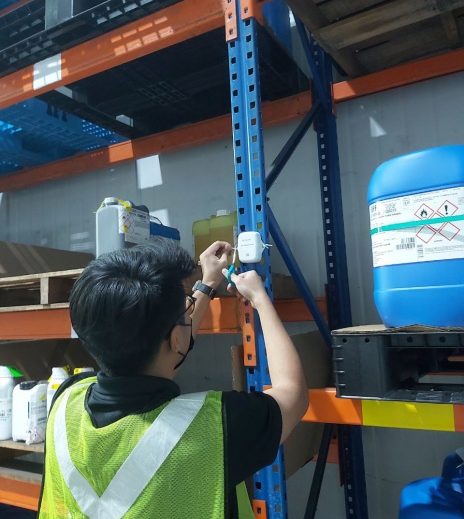
Here are a few photos of our installed hardware
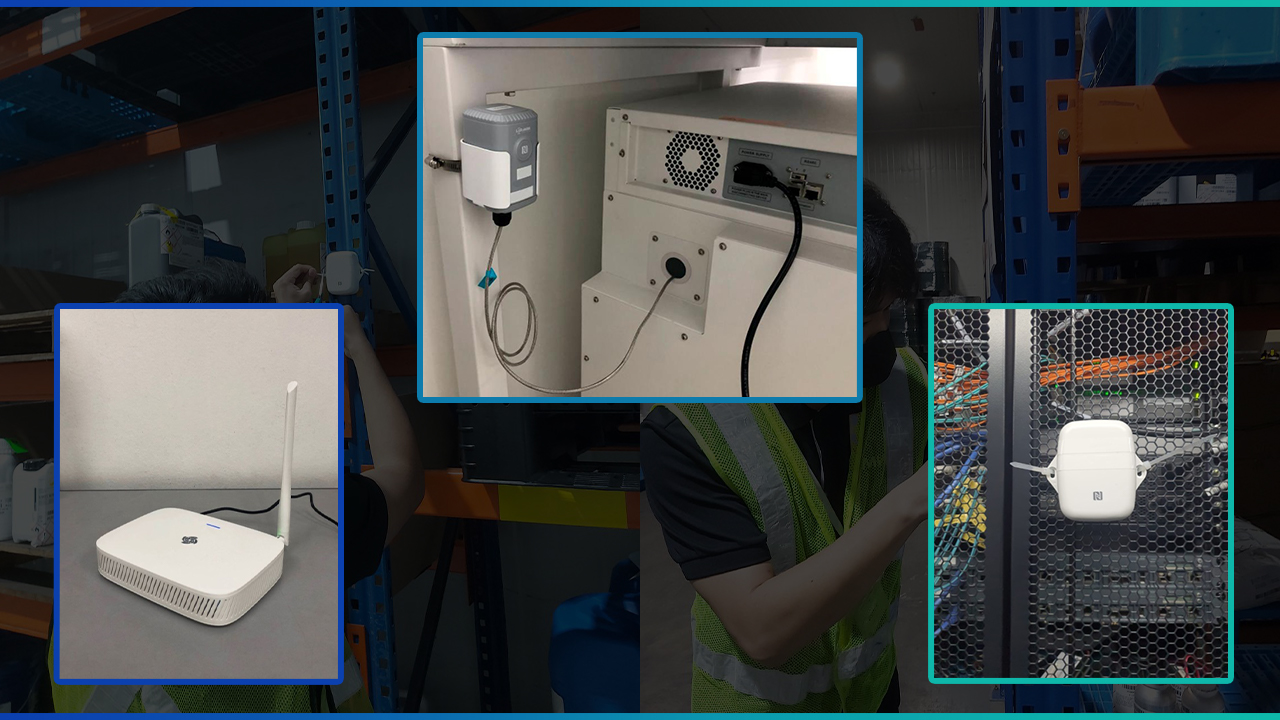
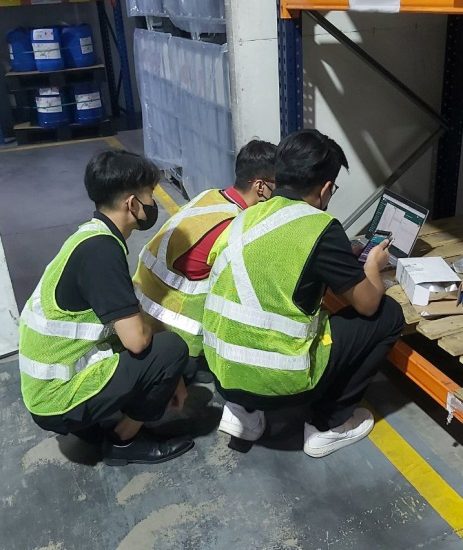
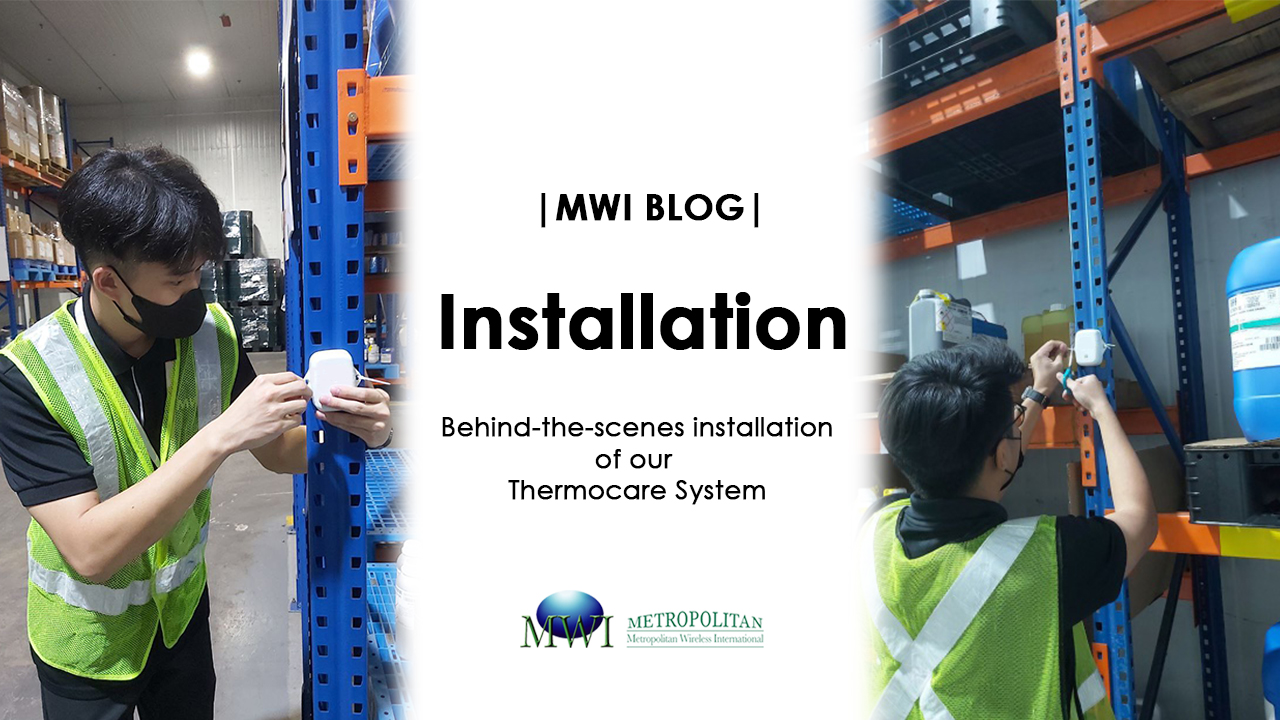
Here's a sneak peek into the installation process!
